TommyZees
1970 AMC AMX Front Coil Spring Compressor Javelin Gremlin Hornet
1970 AMC AMX Front Coil Spring Compressor Javelin Gremlin Hornet
Couldn't load pickup availability
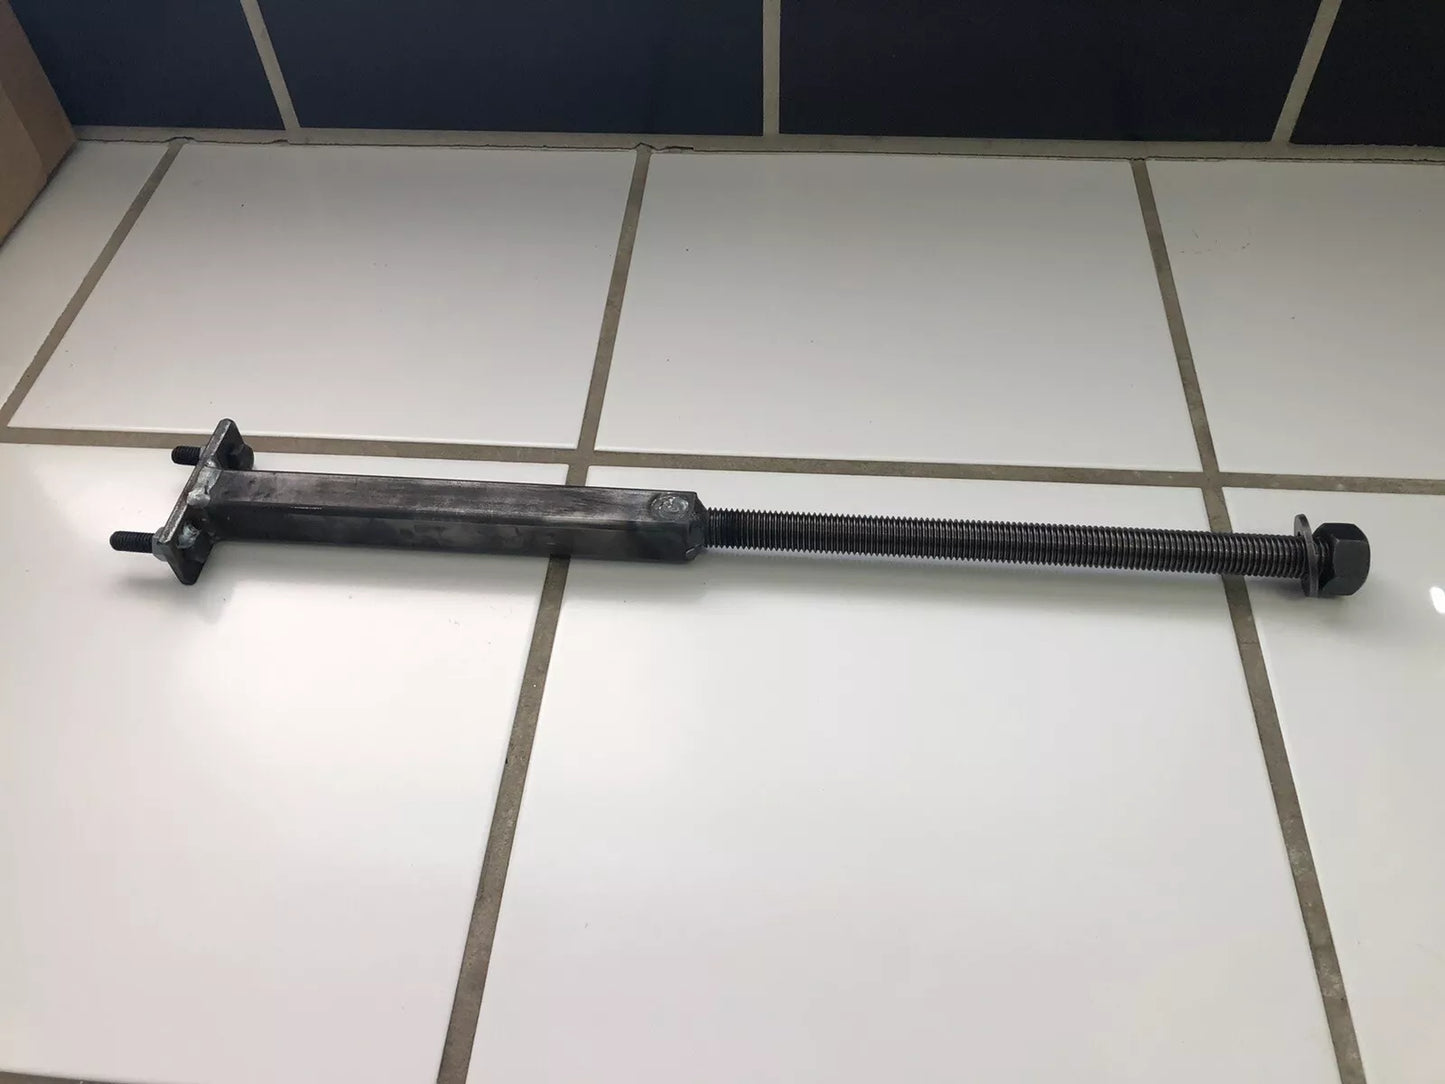
AMC Front Coil Spring Compressor – Fits 1970 & Up
This tool safely removes and installs front coil springs on 1970+ AMC vehicles. Designed to fit directly into the spring perch for a secure fit.
Compatible with:
AMX, Ambassador, Concord, Rebel, Javelin, Matador, Gremlin, Pacer, Spirit, Hornet
Not for 1969 & earlier AMC models with trunnions.
Built by a Pro – Not a Copy
I fabricate each compressor in my hot rod and race car shop, where I’ve spent decades building suspension components for vintage Mustangs, classic Fords, and race cars. This is the original, trusted for over 30 years—not a knockoff.
Specs:
-
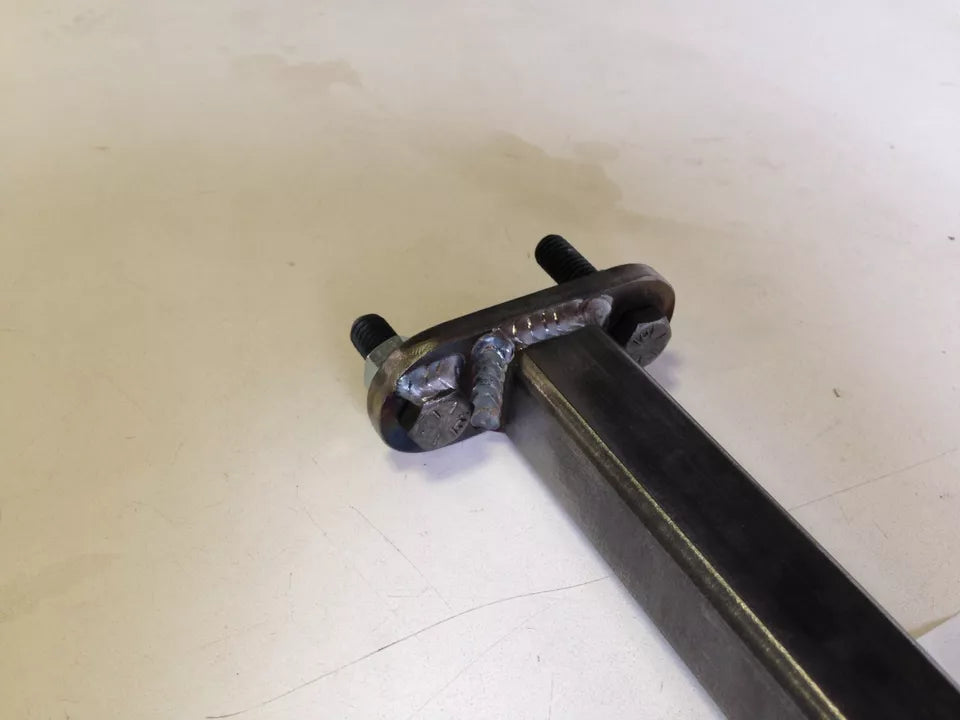
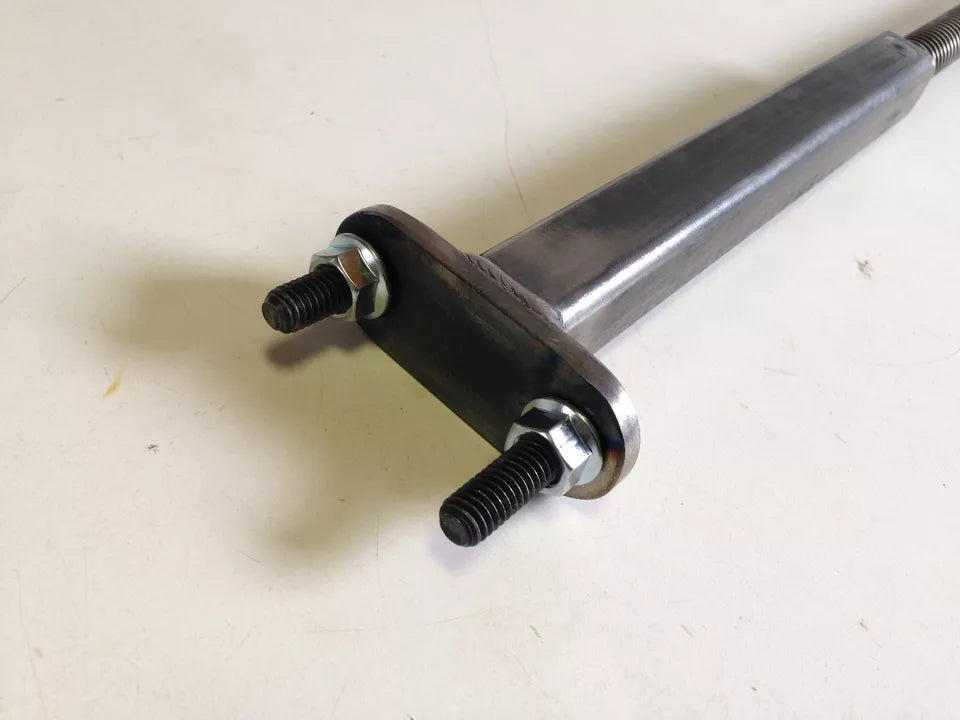
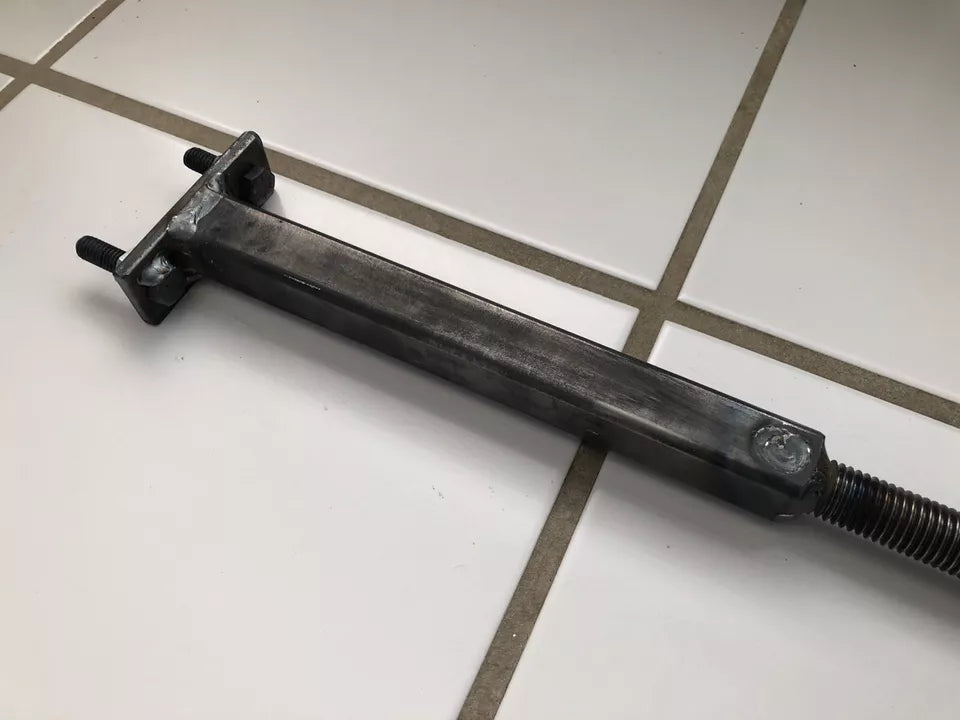
1" x .120" wall square tubing
-
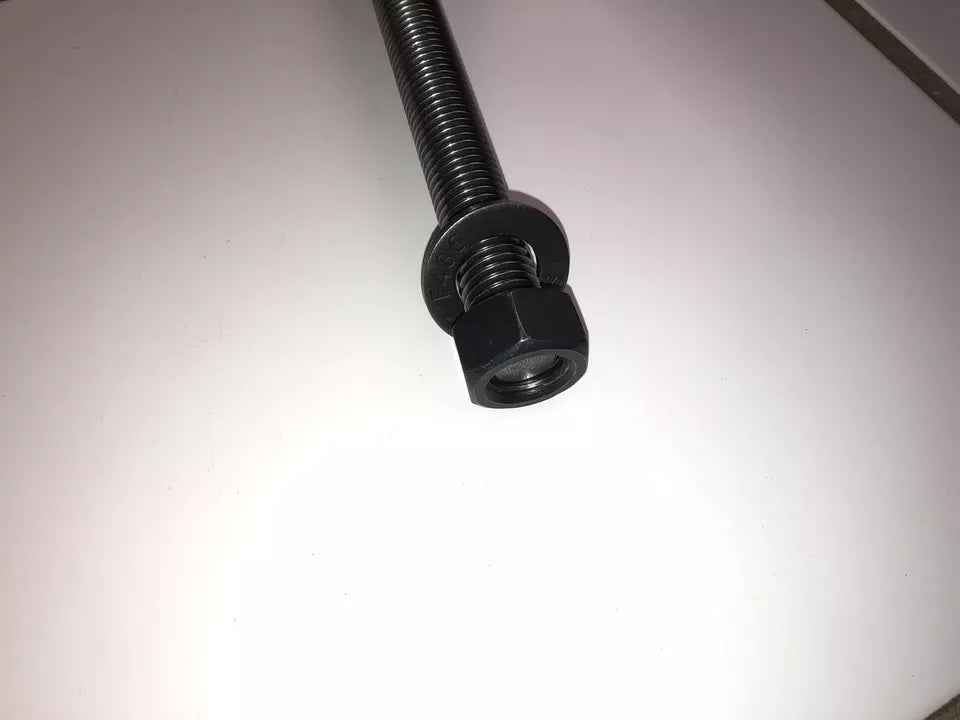
3/4"-10 B7-grade threaded rod
-
MIG welded by a certified welder
-
Includes detailed instructions
-
Made in the USA
Often copied. Never duplicated.
AMC Front Coil Spring Compressor Instructions
-
Jack up the car and place it securely on jack stands.
(Do not work under a car supported by a jack.) -
Remove the front shock absorber.
-
Insert the tool into the spring tower from the top of the engine compartment.
-
Slide the lower plate through the coil spring and into the lower control arm spring pocket.
-
You may need to rotate the lower plate slightly to get it to drop into place.
-
The lower plate should sit approximately 10 inches below the upper plate when the tool is fully extended.
-
-
Thread the rod down into the lower plate until it bottoms out.
-
You should see about 3 to 4 inches of thread exposed above the top plate once fully engaged.
-
-
Install the upper plate on top of the coil spring.
-
Make sure the plate sits flat on the top of the spring.
-
The notch in the upper plate should align with the pigtail (end) of the spring.
-
-
Place the bearing and nut on top of the rod.
-
Begin tightening the nut with a wrench or ratchet.
-
It may take 10–15 turns before the slack is out and the spring starts to compress.
-
-
Once the spring is compressed enough to clear the spring pocket, slowly lower the lower control arm using a jack and remove the spring carefully.
To Reinstall the Spring:
-
Place the coil spring into the lower control arm spring pocket.
-
Insert the compressor tool down through the coil spring.
-
Rotate the lower plate into position in the spring perch.
-
Thread the rod into the lower plate until it bottoms out.
-
Place the upper plate onto the top of the spring.
-
Install the bearing and nut.
-
Tighten the nut to compress the spring just enough to fit.
-
Jack up the lower control arm to seat the spring properly.
-
Loosen the nut slowly and remove the compressor tool.
-
Reinstall the front shock absorber.
Share