TommyZees
1962-1967 Chevy 2 Nova SS Front Coil Spring Compressor Gasser Drag Race Yenko
1962-1967 Chevy 2 Nova SS Front Coil Spring Compressor Gasser Drag Race Yenko
Couldn't load pickup availability
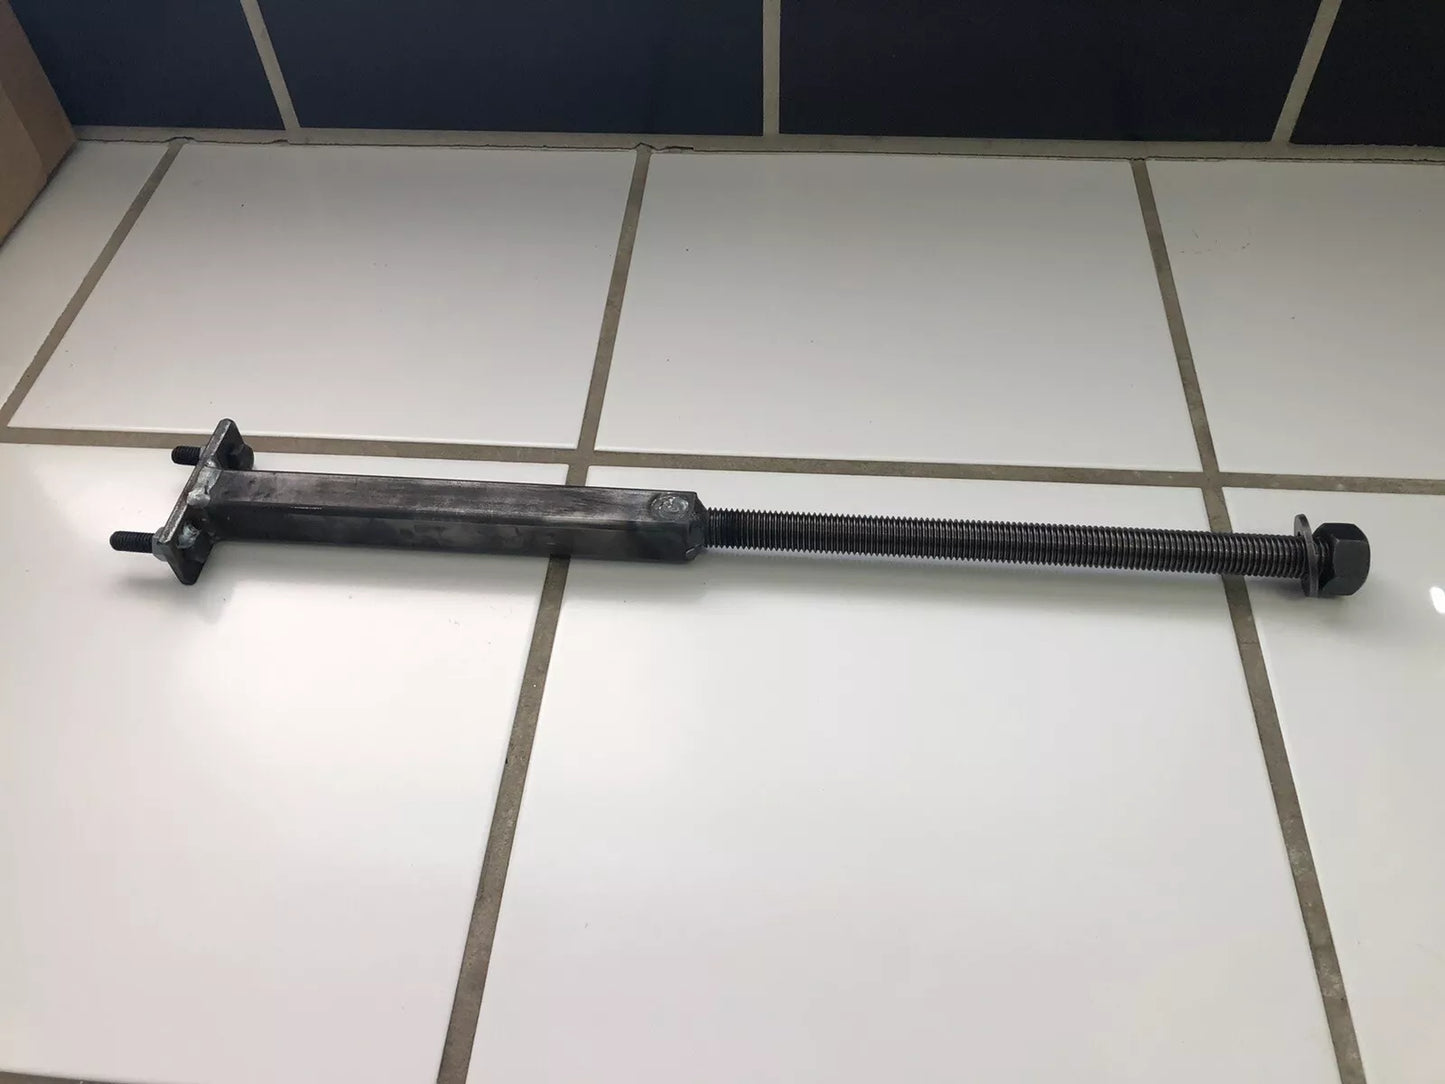
Front Coil Spring Compressor – Fits 1962–1967 Chevy II & Nova
This heavy-duty front coil spring compressor is designed specifically for safe and easy removal or installation of front coil springs on 1962–1967 Chevy II and Nova models. It fits directly into the front suspension and was engineered to properly support the unique geometry of these vehicles.
Built by a Pro – Not a Copy
I fabricate every compressor myself in my hot rod and race car shop, where I’ve spent decades building suspension systems for vintage Mustangs, classic Fords, Chevys, and race cars. This is not a copied or mass-produced tool—this is the original, trusted by builders for over 30 years.
Features:
-
Precision-built for 1962–1967 Chevy II and Nova
-
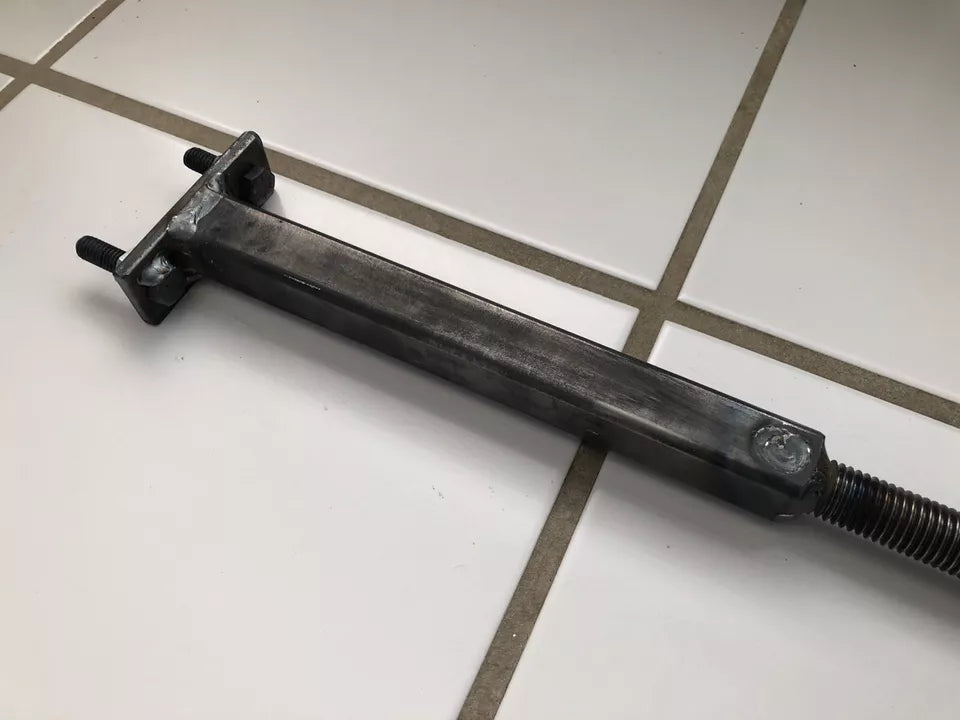
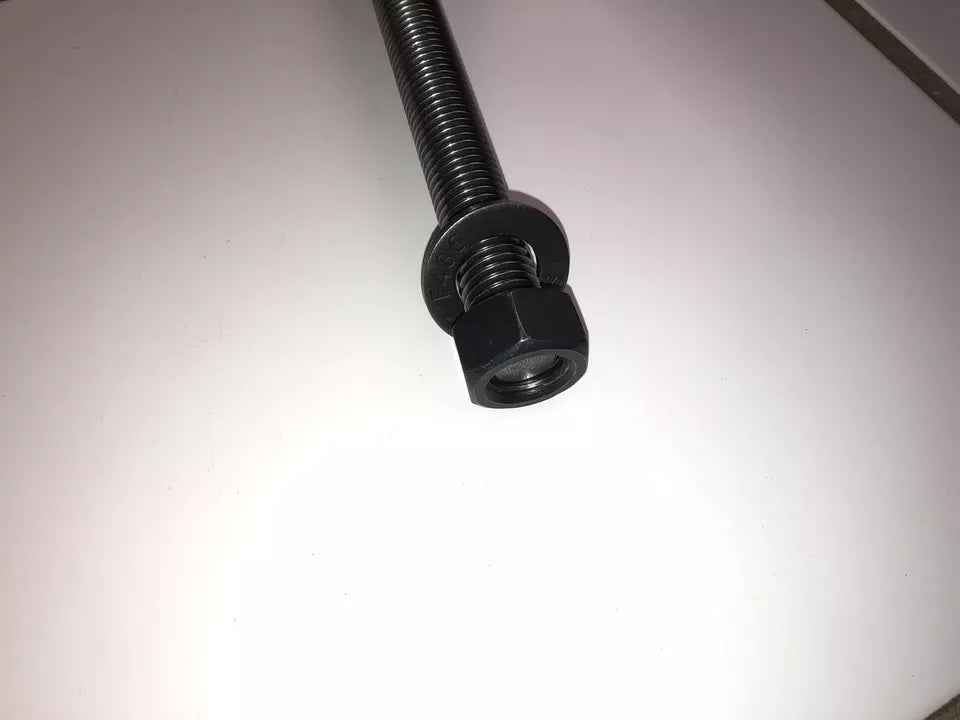
Heavy-duty 1" x .120" wall square tubing
-
High-strength 3/4"-10 B7-grade threaded rod
-
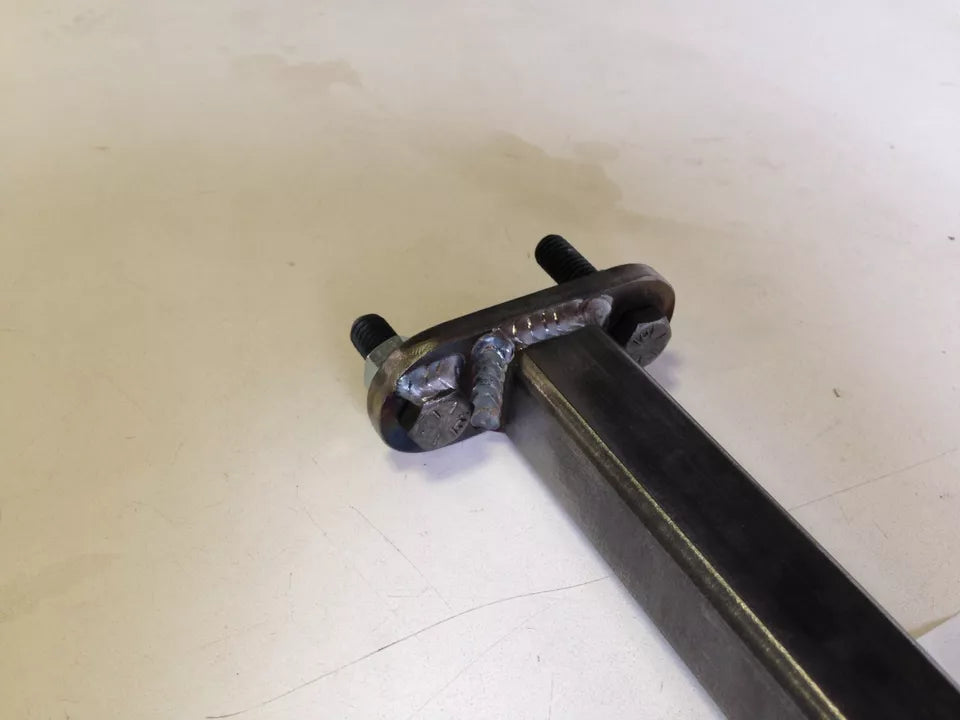
MIG welded by a certified welder
-
Made in the USA
-
Detailed instructions included
Often copied. Never duplicated.
Thousands sold over the last 30 years.
Front Coil Spring Compressor Instructions – 1962–1967 Chevy II / Nova
Important Notes:
-
Lubricate the threaded rod and nut with white lithium grease.
❌ Do NOT use WD-40! -
On some Novas, you may need to open up the upper shock mount to 3/4" to allow the threaded rod to pass through.
Removal Instructions:
-
Safely support the vehicle on jack stands.
-
Remove the front shocks and disconnect the upper ball joints from the spindles.
(The upper A-arm must be removed to take out the spring.) -
Insert the spring compressor:
-
Slide the tool down through the shock tower, with the threaded rod portion facing up.
-
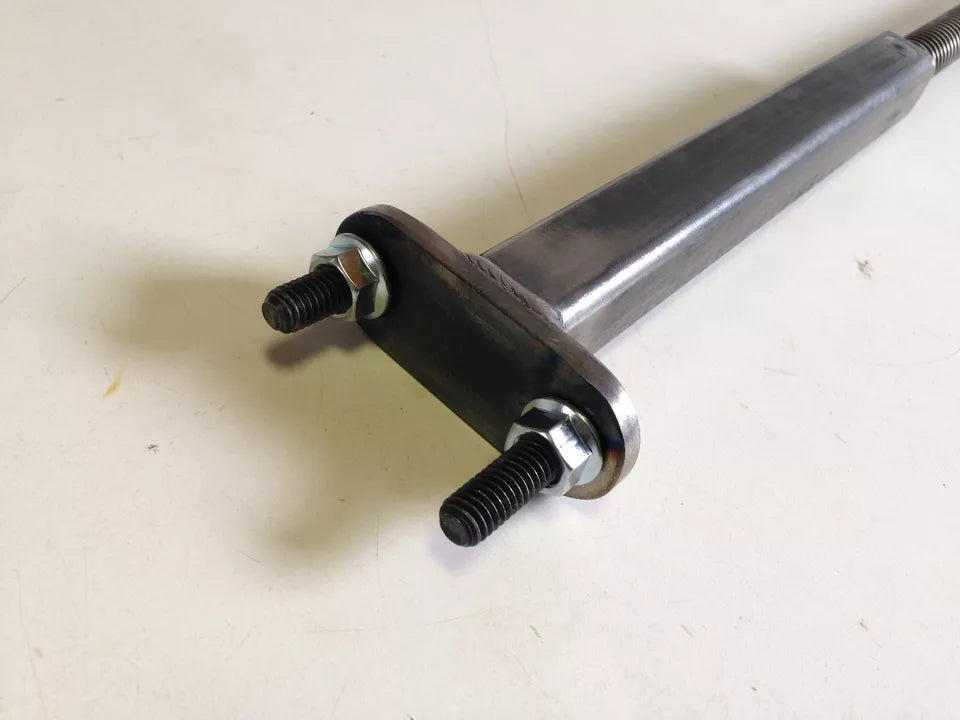
Attach the lower plate of the compressor to the lower spring seat, just as you would install a front shock.
-
Use the included two 3/8" nuts to fasten it through the spring seat holes.
If you opted for the thrust bearing upgrade, install the bearing on top of the shock mount before proceeding.
-
-
Install the washer and nut on the top of the threaded rod.
-
Tighten until the nut contacts the washer.
-
Lubricate both the nut and washer with motor oil to make turning easier.
-
-
Begin tightening the nut clockwise.
-
As you turn the nut, it will draw the spring upward into the shock tower.
-
You only need to compress the spring approximately 3–4 inches, just enough to unbolt the spring seat from the lower control arm.
-
⚠️ DO NOT attempt to compress the spring completely.
-
-
Once the spring is compressed:
-
Unbolt the spring seat from the A-arm.
-
Then remove the A-arm from the shock tower.
-
If the A-arm won’t come free, compress the spring a bit more and try again.
-
-
After the A-arm is removed:
-
Slowly release the spring tension by backing off the 3/4" nut.
-
Reassembly is the exact reverse of disassembly.
-
Usage Tips:
-
When re-installing the spring:
-
Align the studs on the spring seat parallel to the frame rails.
(This helps line everything up with the A-arm.)
-
-
During reassembly:
-
Leave the spring seat studs loose at the shock tower to allow some movement during alignment.
-
Time-Saving Tip:
To speed up the process, you can use the vehicle's weight to pre-compress the spring:
-
Remove the shock.
-
Install the compressor.
-
Tighten the nut just until it contacts the flat plate or shock mount.
-
Then jack the vehicle up and set it on jack stands.
The spring will already be partially compressed by the car's weight. You can now continue with the A-arm removal steps as described above.
Need help? I’m available to answer questions anytime.
— Tom
Share